LO3 - Write up of Mix down
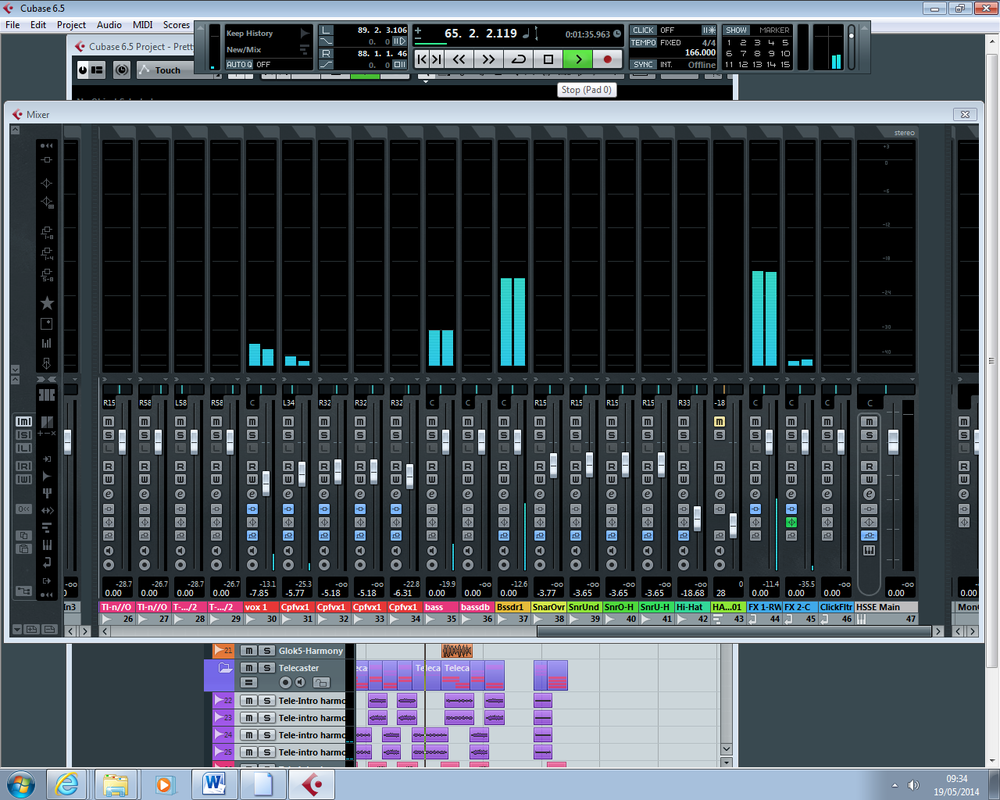
Balancing Levels
|
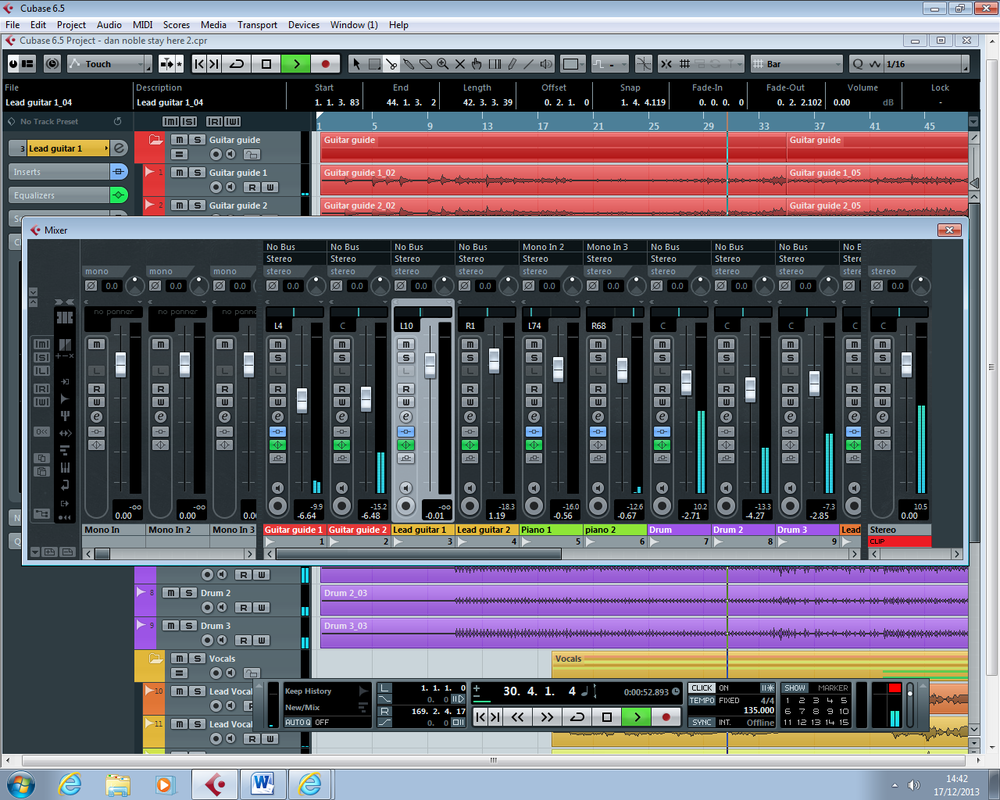
Balancing levels allows you to change the volume of each individual track that you have recorded onto Quebass. Once you start changing the individual tracks volumes and start playing around with what sounds good at different levels your recording will sound a lot better and you won’t have one instrument being too loud and drowning out the other instruments. In the screenshot above I have shown how I have balanced the levels of all of my individual tracks. I have put the levels of the tracks that I want to be louder in the overall mix higher than the less important tracks. For example I have put the lead guitar higher in the mix that I have put the rhythm guitar. The way I have adjusted and altered the levels of each of the individual tracks is by moving the white knob on each channel up and down. Moving the white know up makes the track louder and moving the white knob down makes the track quieter.
|
|
This is a screenshot of the mixer. You can see that I haveadjusted the levels of all of the tracks to help them sit in the right place in the overall mix of my song. I have some track that is very low in the mix like the violins and the cellos that I did using midi. The reason that they are very low is because I want them to be a very subtle effect. I am happy with the way that all of the tracks are balanced in my song and I think that none of the tracks are to over powering and that having the bass drum quite loud along with the brushes on the snare is very effective and it helps the song to move along nicely and makes it feel like it’s going somewhere.
Panning Tracks
|
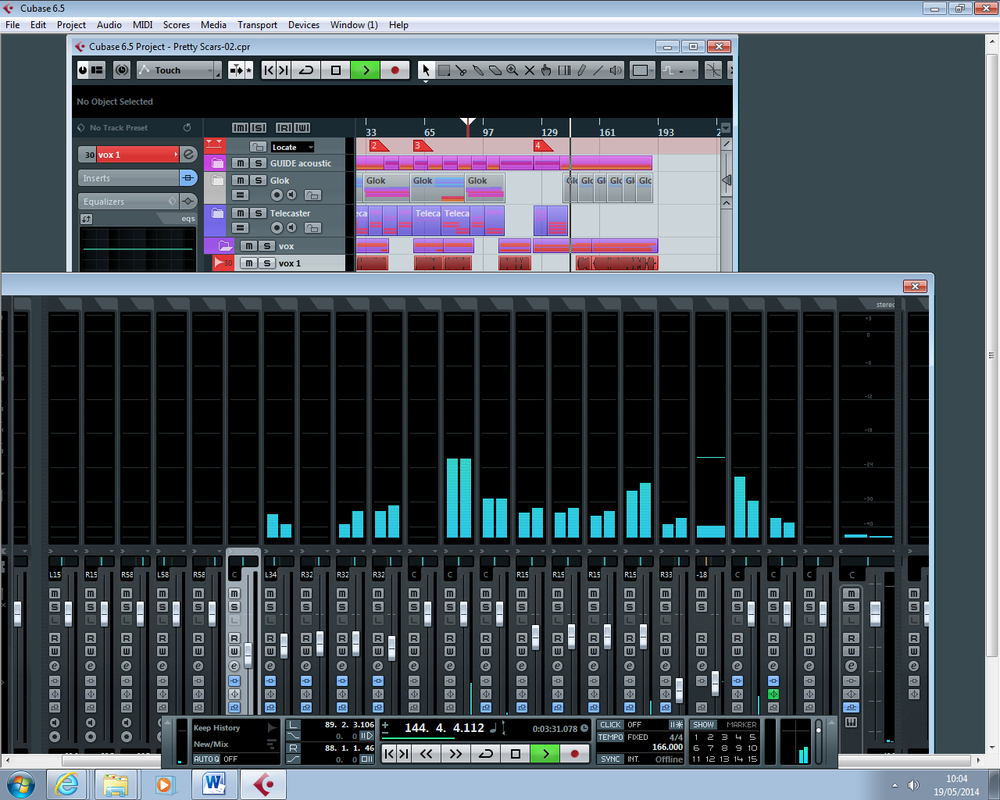
In this screenshot I am showing panning. If you look at the screenshot carefully you can see that I have panned my left microphone on the piano left and my right microphone on the piano right. I have also panned the two of the microphones from the cahon (drums). The reason that I have panned the drums and piano is to create the effect of a larger stereo field so that the recording has more depth and feels a lot fuller. The way that you pan you’re tracks is by moving a very small white line thing on each of the individual tracks when you get up the mixer. You mover the little white line to the left
to make the track come out of the left side of the stereo field and you move it to the right if you want it to come out of the right side of the stereo field. |
As you can see in the screenshot above that the vast majority of my tracks have been panned one way or the other to help to build up the sense of depth in the music and make it sound like you listening to it when it’s being played live. One of the things that I have done in this song that uses panning panned the drums so that they feel like you are looking at a real drum kit. To do that I had to I left the bass drum central and panned the snare drum mics right by 15. And then to complete the drum kit feel I panned the high hat 33 to the right.
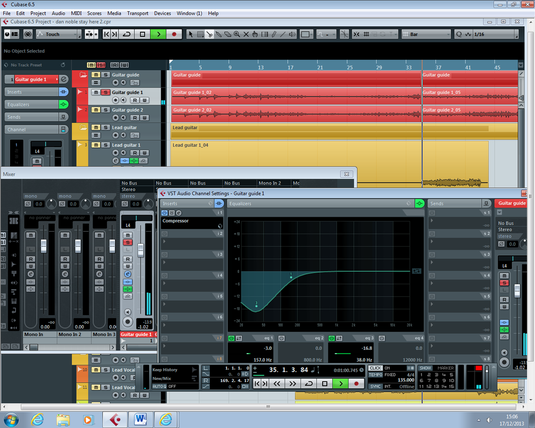
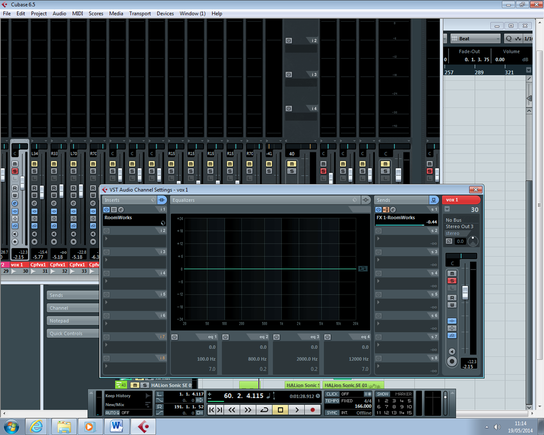
Equalisation
|
The screenshot above shows how I equalised the rhythm guitar number one. I have boosted the
treble frequencies on this track so that when heard in the overall mix there won’t be a clash with the bass guitar. This means that there will be more variety in my guitars too. When you are EQing a track on a music editing software what you are doing is cutting or/and boosting frequency’s. If you want the tone to sound more trebly then you would cut some of the bass frequencies by changing the shame of the Equalisation line. You might also boost some of the treble frequency’s. It works the same the other way round so if you want the track you are EQing to sound bassier then you would cut some of the treble frequency’s and boost some of the bass frequency’s. When you are using the EQ it is important that you done do to many big changes to the EQ if you want you’re track to still sound natural. |
|
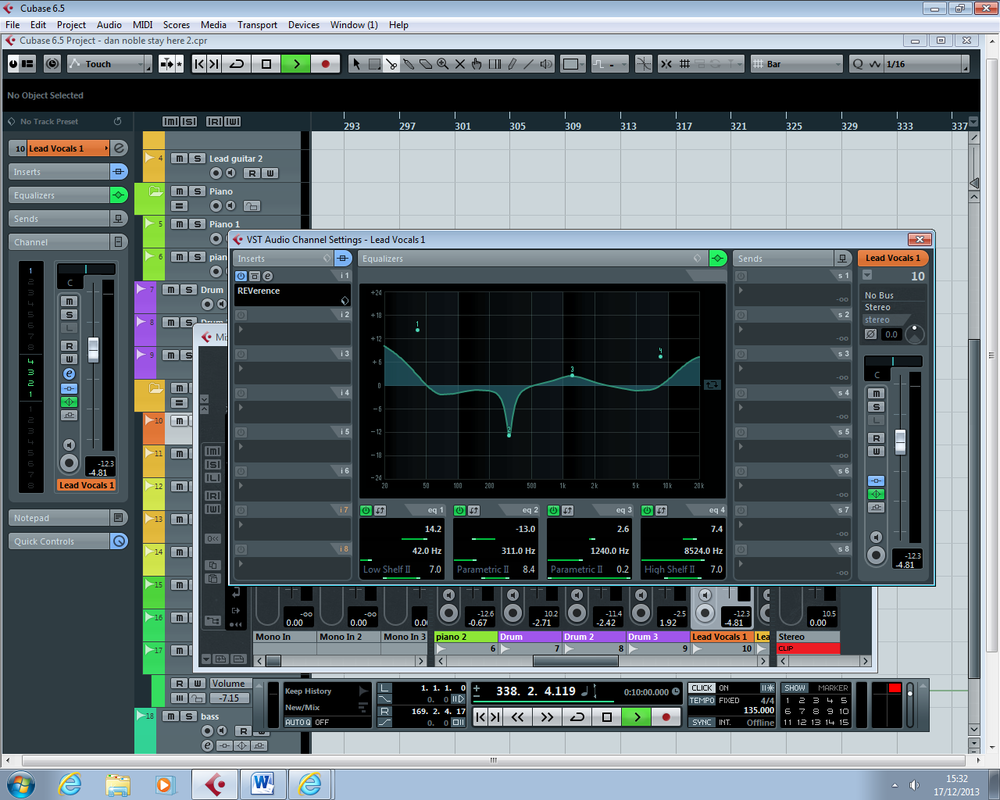
Dynamic Control
|
The screenshot to the right is a example of dynamic control using a compressor on quebass. Compressors are very useful tools to help you to just round of the sound and make sure that everything is around a equal level.Because that’s what it does, it can be seen as controlling the dynamics of the track and making the volumes more level.
|
Effects
|
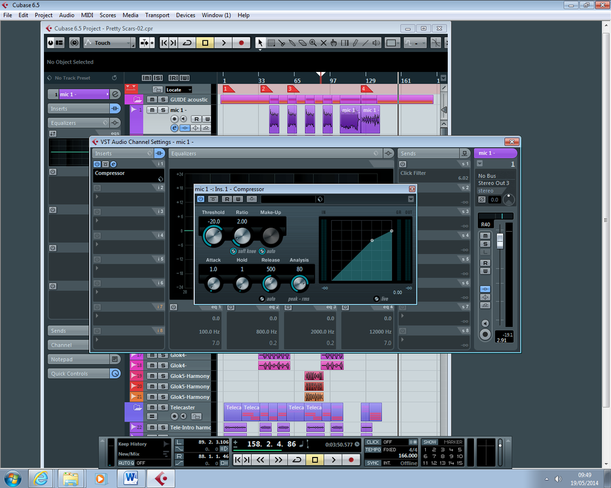
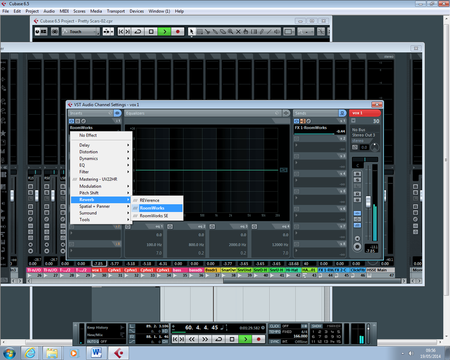
I have use a few different effects in the mix down of this song but the most commonly used effect in this recording is reverb or reverberation. It helps to give the recording a sense of depth and a feeling of space and that helps to make your recoding more full. I have applied reverb to a few of the vocal tracks however I have made sure that I didn’t apply it to all of them to prevent it song like I am singing the song in a massive reverby cave. If there is too much reverb it can act as a negative and compromise the quality and the fullness of your recording because it just gets messy.
In order to apply reverb to a track you have to go to the track mixer (F3) then press the little E and then scroll down the drop down menue to reverb. The reverb that i have chosen for this track of the vocals is the RoomWorks Reverb. In this screenshot I am showing my use of the Pre Fader. The pre fader is on and it is the little yellow button next to the e and the blue button. What it does when its one is means that when you take the level down on the track then the reverb or whatever effect it is that your using will remain the same. If the pre fader is of then the reverb will go and so will the volume when you take the level of the track down. |
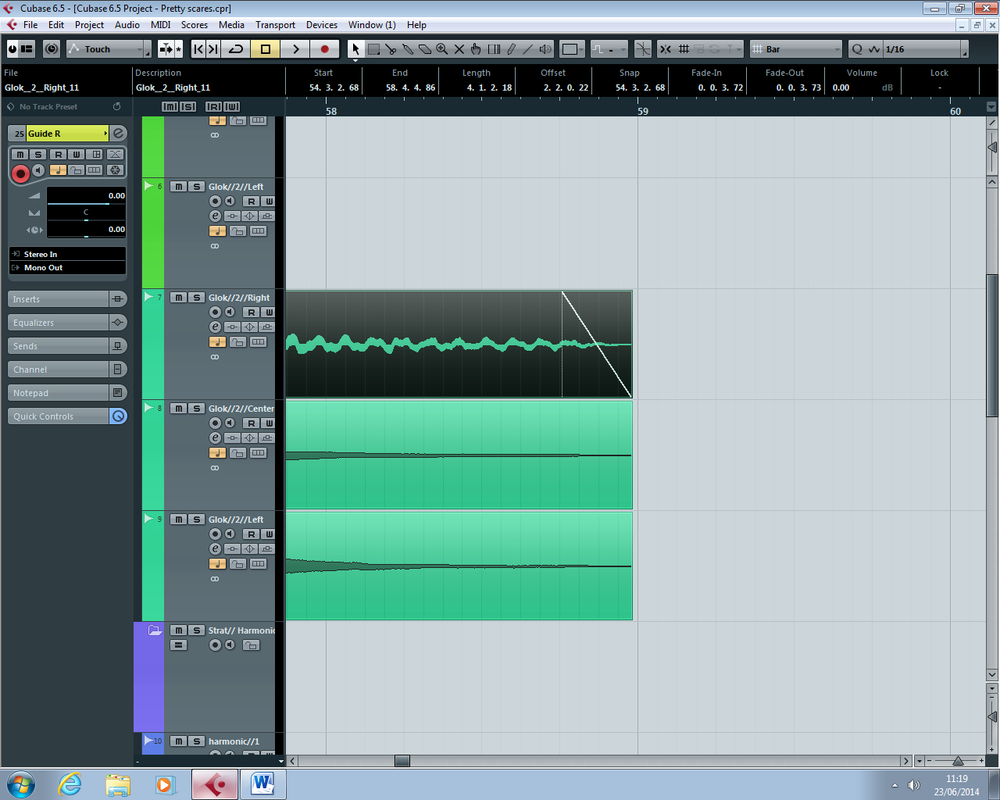
Editing examples
|
In the screenshot here you can see that I have faded the track out. By fading the track out it helps a lot to clean up the track and make sure that all of the different parts don’t stoop to suddenly. Instead they can fade out slowly and sound neater. I noticed that in my track that there was some sounds in the background that I didn’t like sounds like the click and bit of noise that leaked though from the live room.
|
|
MY TRACK
The link below is a link to my soundcloud
https://soundcloud.com/#dan-noble-1/pretty-scars-acoustic-demo
https://soundcloud.com/#dan-noble-1/pretty-scars-acoustic-demo
the link below is the updated version of my mixdownhttps://soundcloud.com/dan-noble-1/pretty-scares-final-bounce-tom
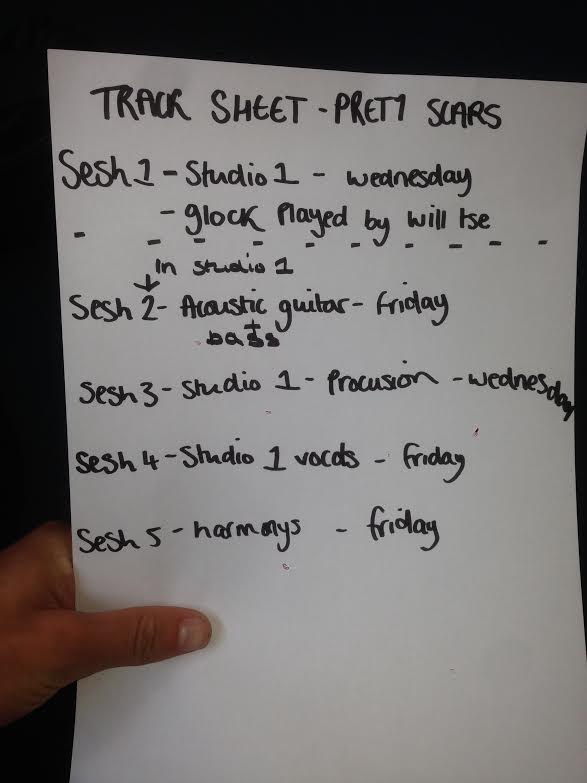
The picture below is a picture of all of the tracks that we recorded in the studio and when they were recorded and who by. This only shows the recording stage of the process and not the editing stage.